Lesson 1: Discovering Depth of Field
3rd January 2020
Lesson 3: Discovering Depth of Field Part 3. Focal Length
17th January 2020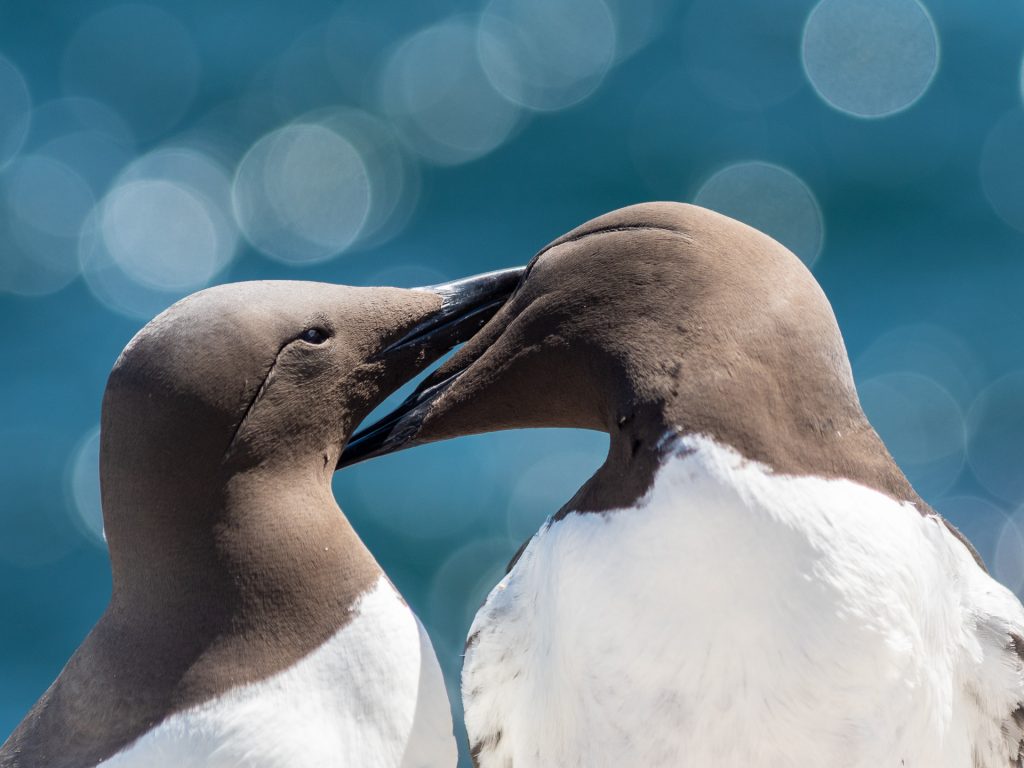
Lesson 2: Discovering Depth of Field. Part 2. Proximity
Last time we looked at Depth of field; how much of the picture is in focus. The next way of changing this is by proximity to the subject.
You will need:
A subject of your choosing.
A camera
Camera Settings
Set your camera into Aperture Priority (A or Av mode) if you have it and put ISO on Auto. (If you are stuck, message me with your camera model, and I shall tell you how.). Set the camera to its widest aperture. This will be the lowest f/ number. So set your camera to f/4 or f/3.5 or even lower if you can. We looked at this in the last lesson. You don’t want f/18 or f/22.
Take the shots
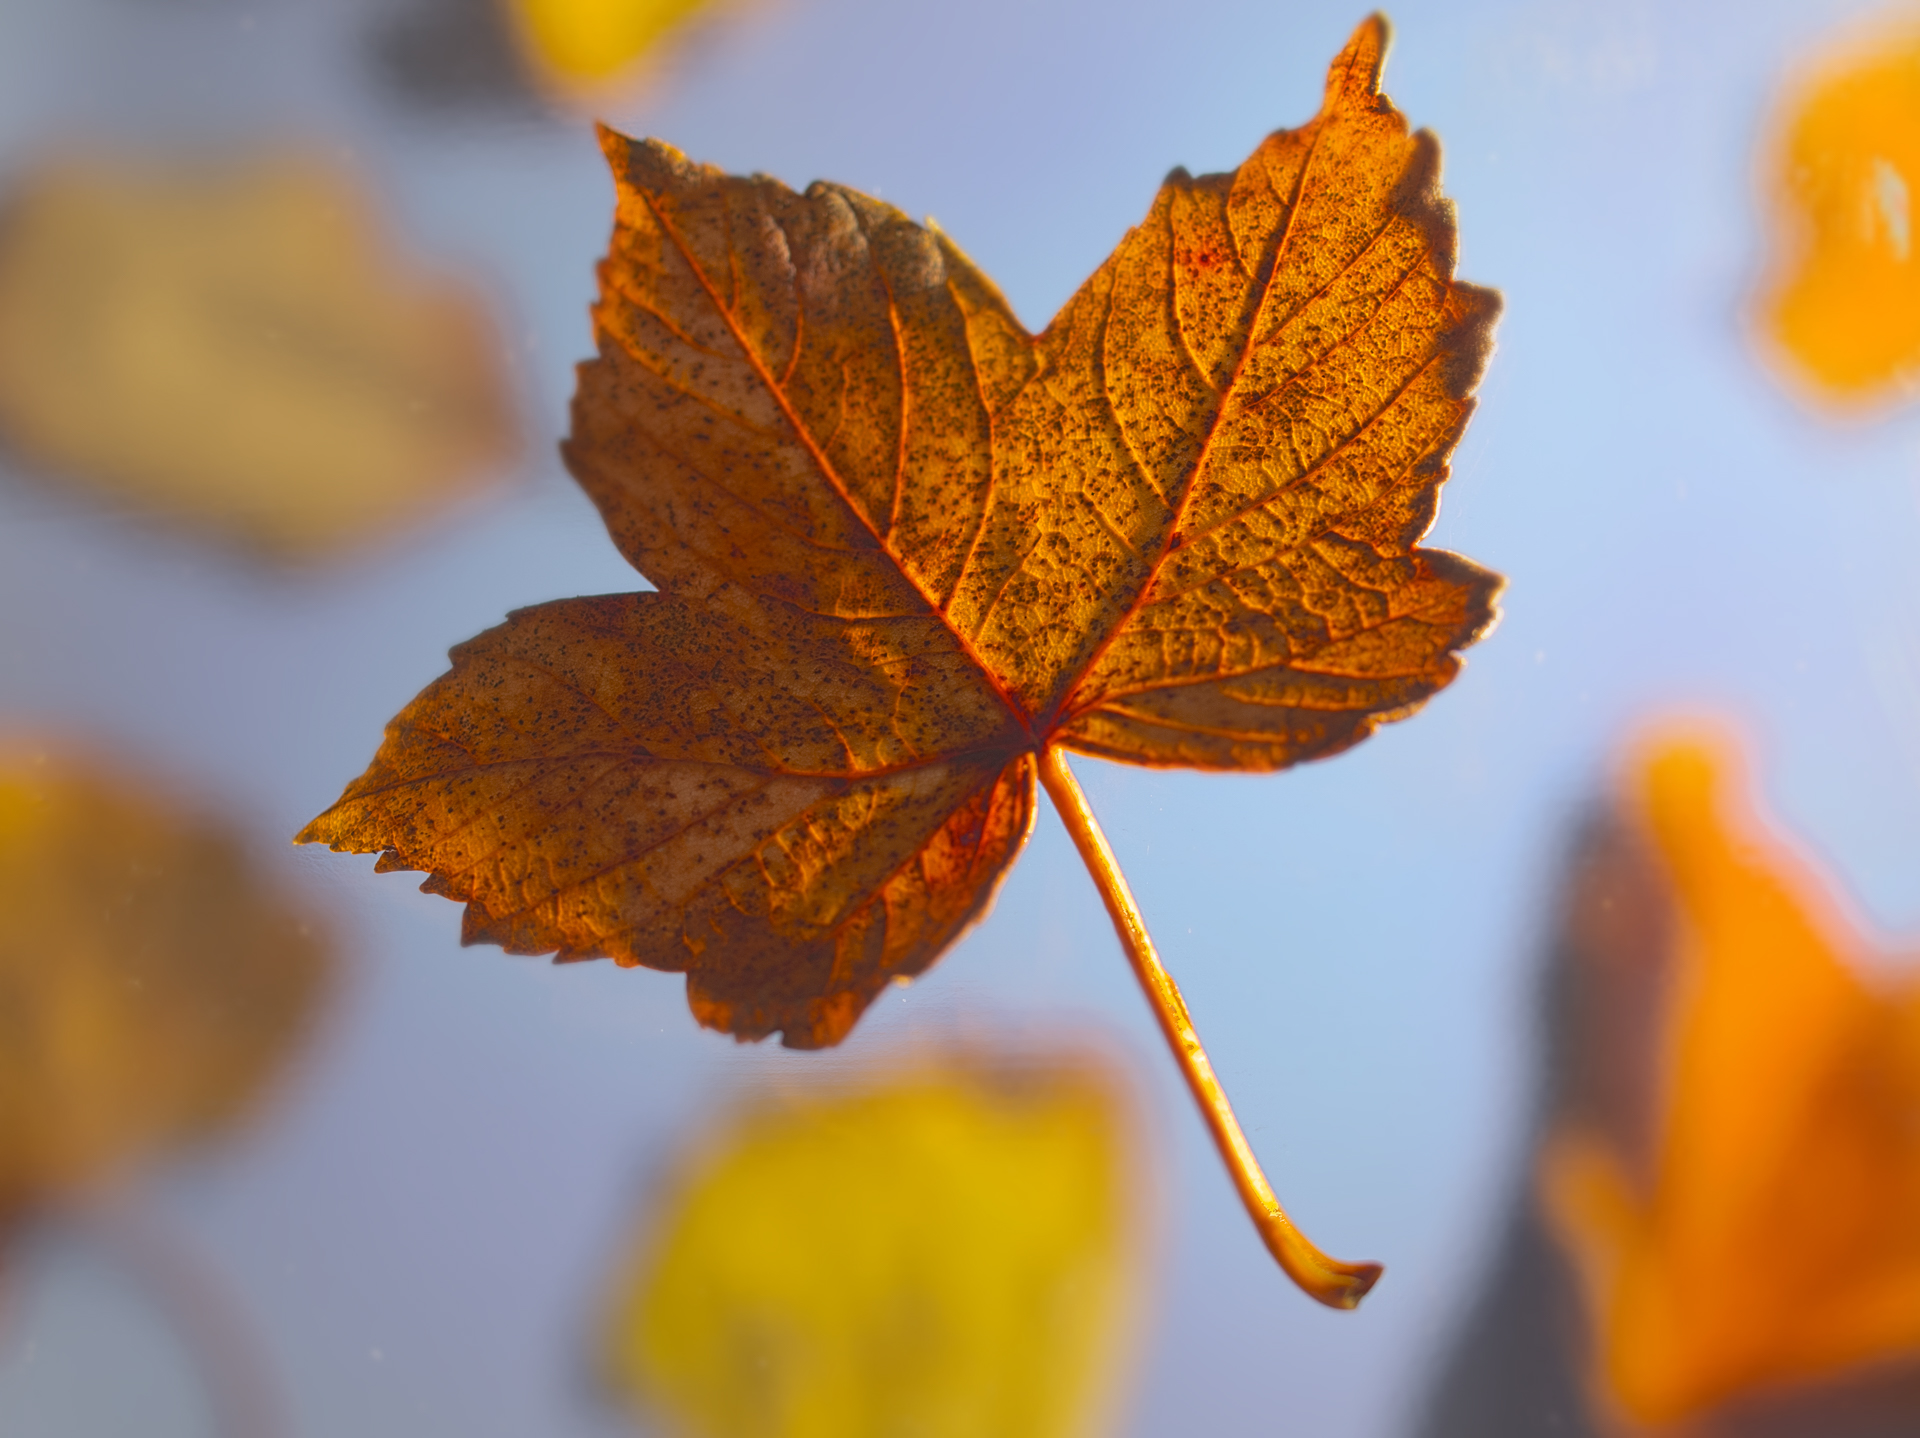
Stand close chosen subject and focus on it but include background to the shot. A head and shoulders shot of a person or a close up of a flower works well.
If you are too close, the lens won’t focus, so try moving back a few cm.
Carefully squeeze the shutter button.
Now move back, doubling the distance to the subject and take another shot. Then double the distance again and take a third shot.
Compare the three shots. The one taken closest to the subject should have the most blurred background, the one shot farthest from the subject will have more of the background in focus.
The closer you are to the subject, the shallower the depth of field.
More about this next time.
Practice this and Let me see your shots! Add a comment below and/or share them with me on facebook or Instagram using the links in this page’s footer below and add the hashtags#ivorphoto and #ivorslessons and tag me @ivortog.

